If you’re reading this article, you’ve probably come across it from one of two sources: another article on this website, or a QR code left at a community workshop. This device allows you to drill exactly perpendicular through any object with rotational symmetry in at least one direction; this is valuable for things like:
- Smoking pipes
- Flutes
- Beaters
- Hanging holes on tool handles
This guide is to explain how to use this jig if ever the need arises.
Printing and assembling
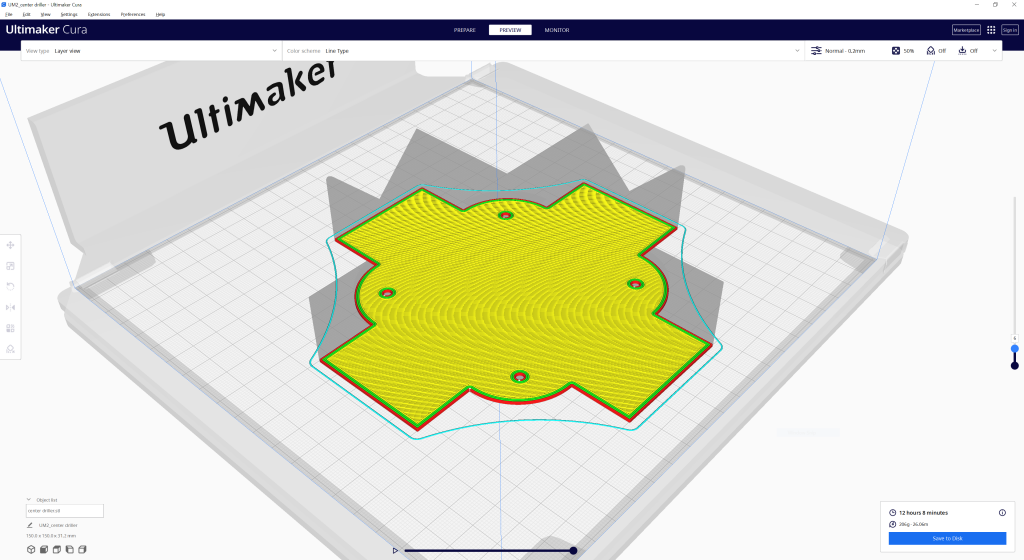
Download the STL here, and print it in PLA at around 50% infill. Ensure that the bottom plate is just floors and not an infilled hollow space.
Once you have your part 3D printed, gather all the tools below:
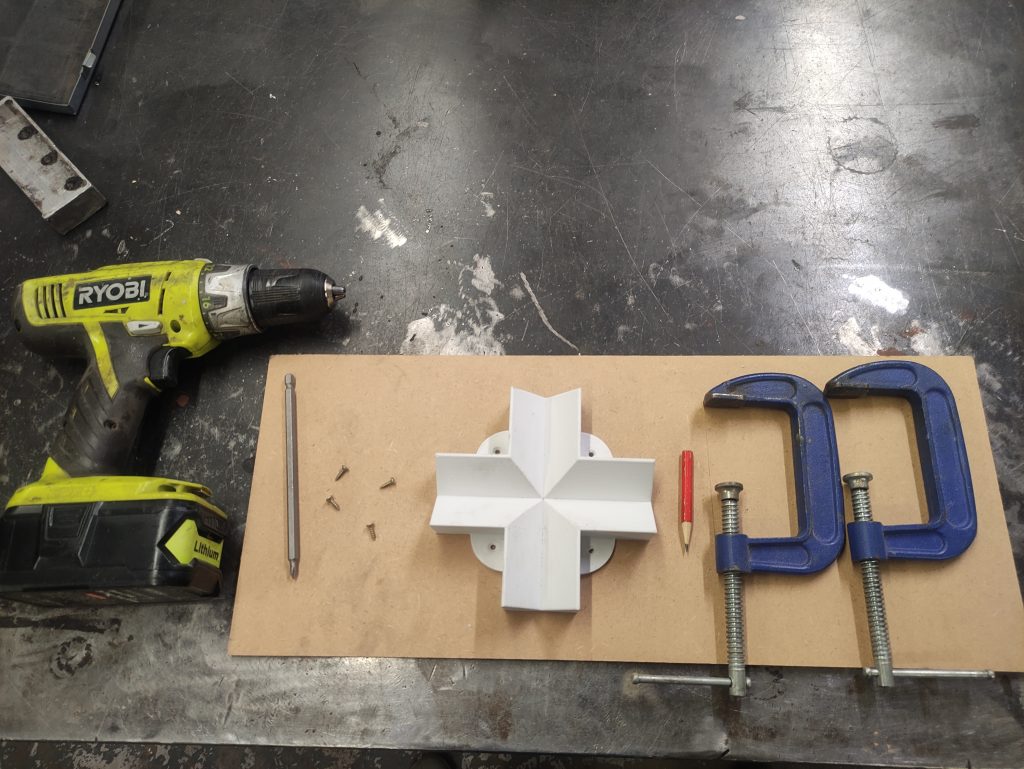
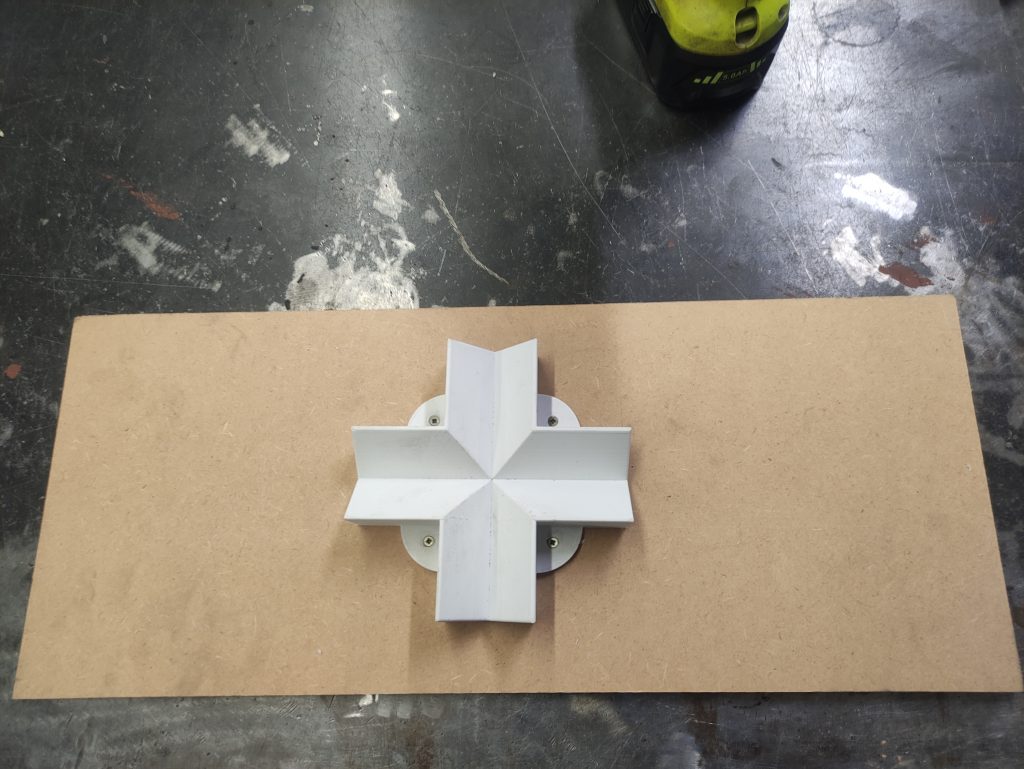
Place it on a board which is large enough to fit the jig and span the bed of your drill press from one side to another (with enough additional space to shift the board as need be), and screw it in through the four holes.
Setting up
Adjust the height of the drill bed before starting any work. Chuck up a freshly sharpened round or hexagonal pencil in the drill press and clamp the board to the bed roughly centred.
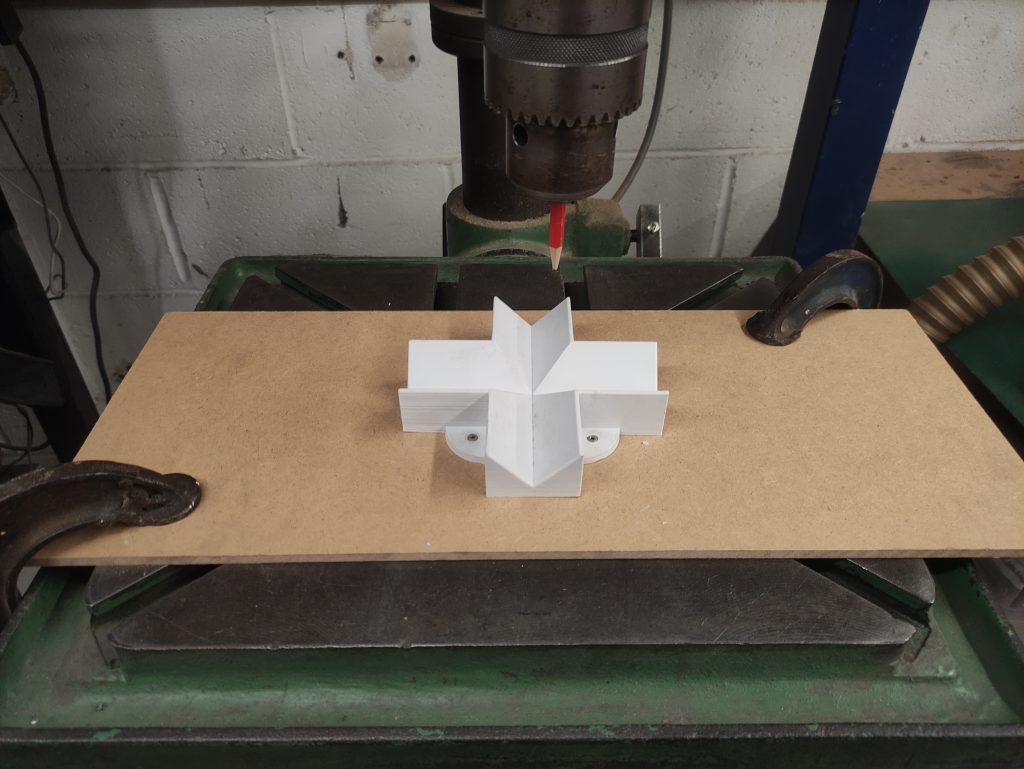
Lower the pencil to the jig and take a mental note of how far off center it is and in which direction; adjust the board until the pencil falls in the intersection of the two valleys.
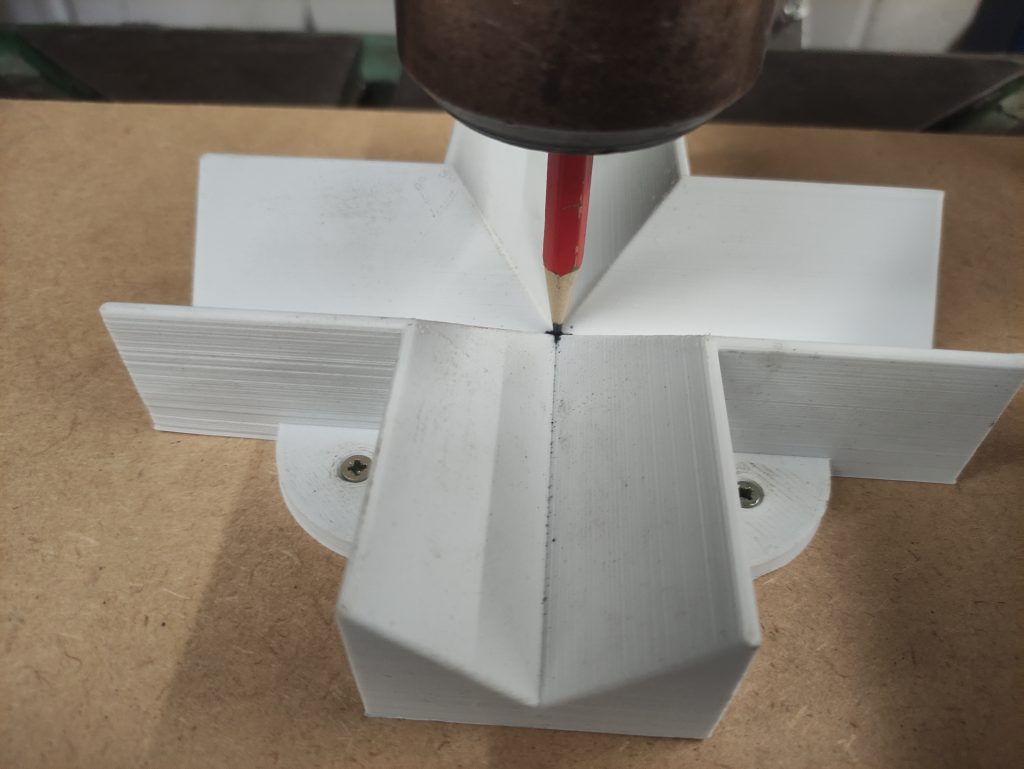
Following user feedback, I have replaced the center “cross” with a center “cone” to allow for easy through-drilling. The same principle applies but the pencil must now align with the tip of the cone as opposed to the cross.
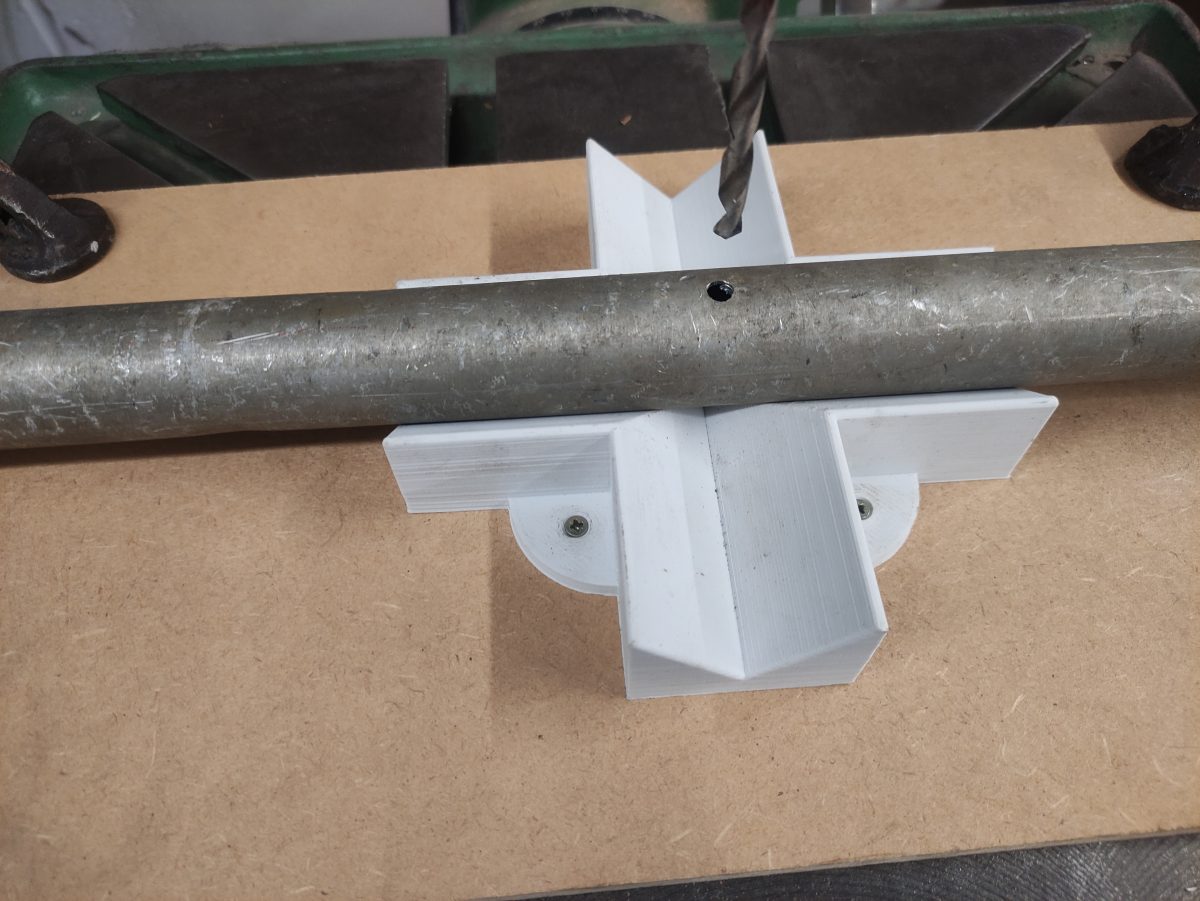
Usage
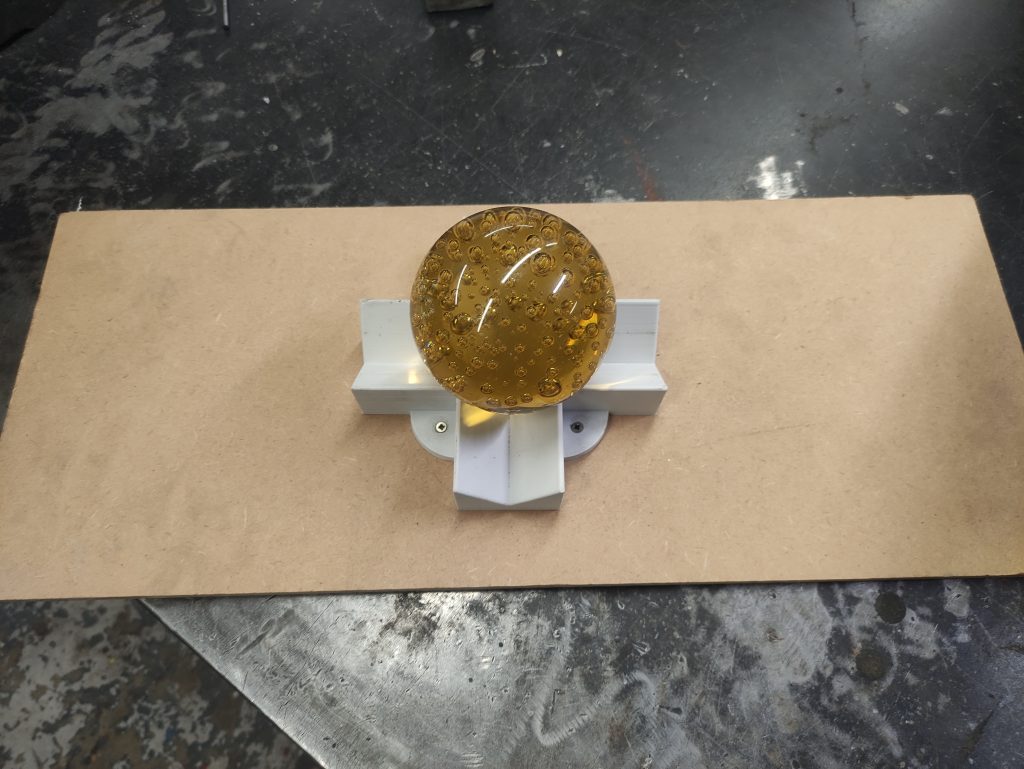
This is pretty self-explanatory so I’ll keep it brief. To drill into a ball (say for a beater) simply place the ball at the intersection and drill.
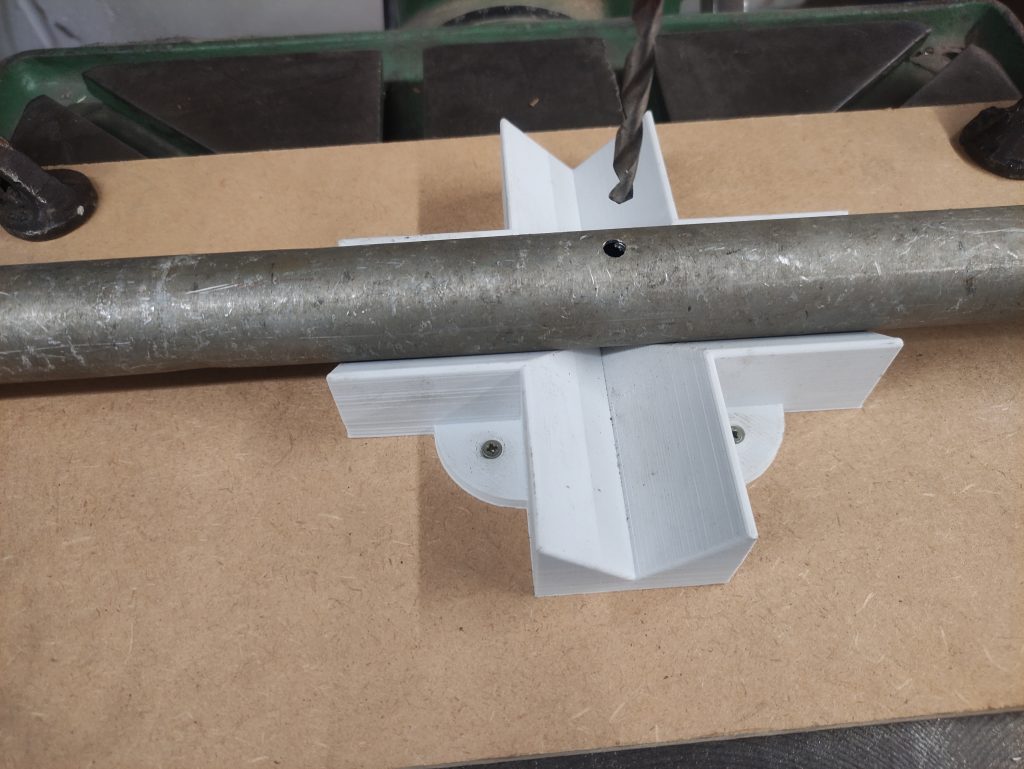
To drill into a cylinder (say for a flute) simply place the position you want drilled over the intersection, and drill!
Rights
This project is neither copyrighted nor patented and is free to reuse or distribute non-commercially under Creative Commons. If you choose to set it up in a public place like a school, or community workshop, please print the QR code in the folder; this links to this website so people can learn how to use the jig. As always donations are welcome to continue funding this sort of work, but by no means necessary!